

ATLET
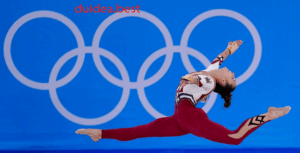
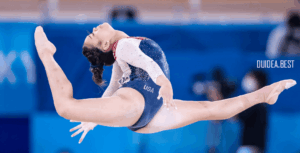
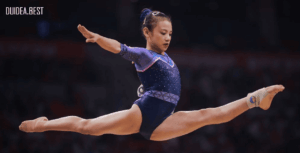
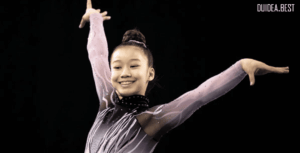
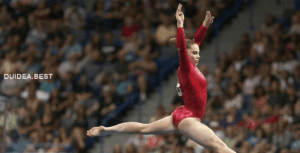
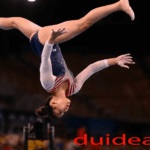
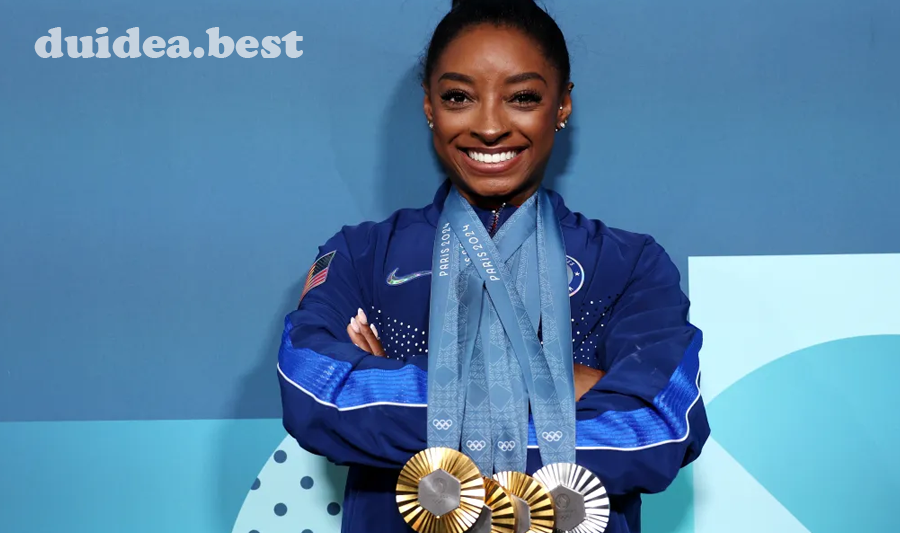
Sunisa Lee: Pesenam Putri Amerika Serikat yang Memukau di Olimpiade dengan Keanggunan
Pendahuluan Sunisa Lee panggung bagi banyak atlet dari seluruh dunia untuk menunjukkan bakat dan perjuangan…

ATLET
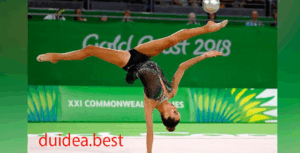
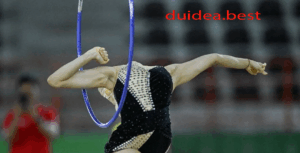
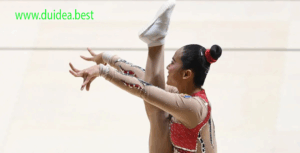
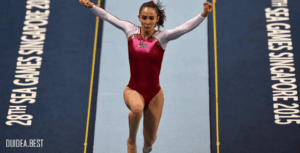
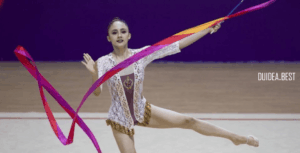
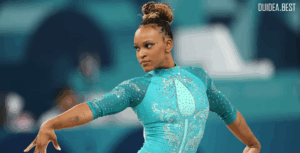
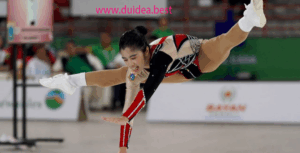
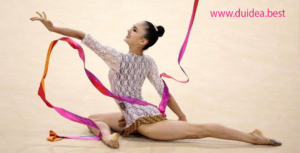
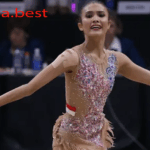
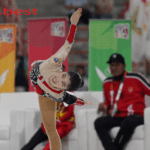
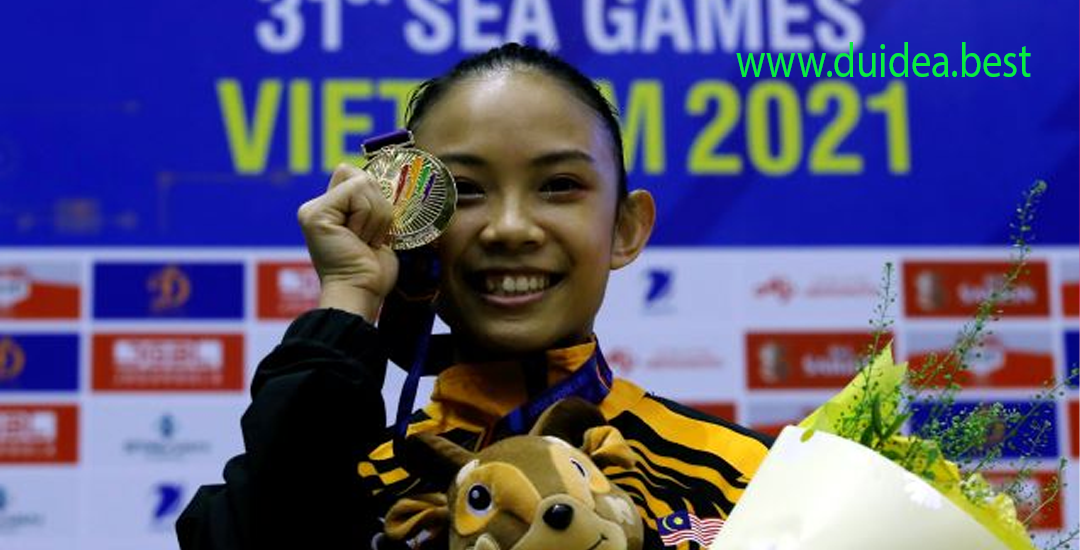
Nabila Evandestiera: Pesona dan Ketangguhan Pesenam Indonesia
Pendahuluan Nabila Evandestiera Indonesia terus menunjukkan eksistensinya di dunia olahraga, khususnya dalam cabang senam ritmik.…
ATLET
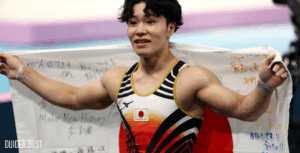
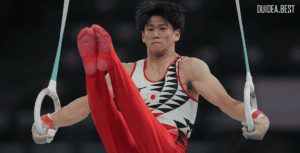
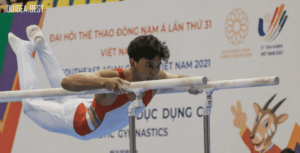
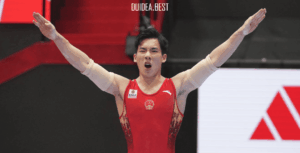
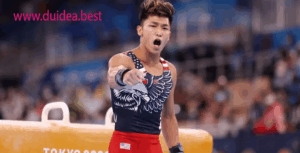
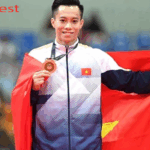
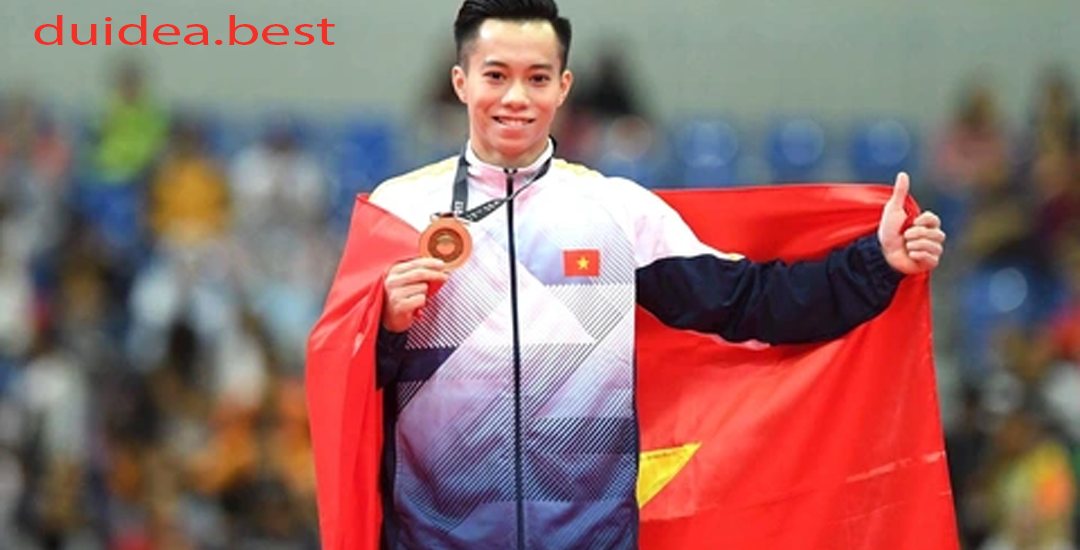
Thanh Tung Le: Bintang Pesenam Vietnam yang Menjanjikan
Pendahuluan Thanh Tung Le Dalam dunia olahraga senam, nama Thanh Tung Le mulai dikenal luas…
ATLET
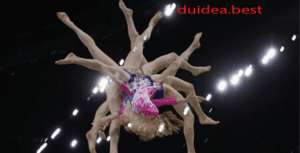
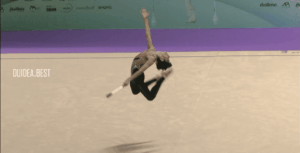
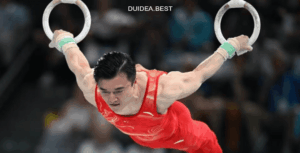
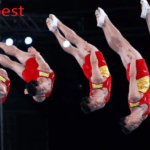
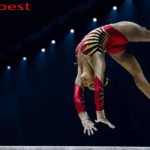
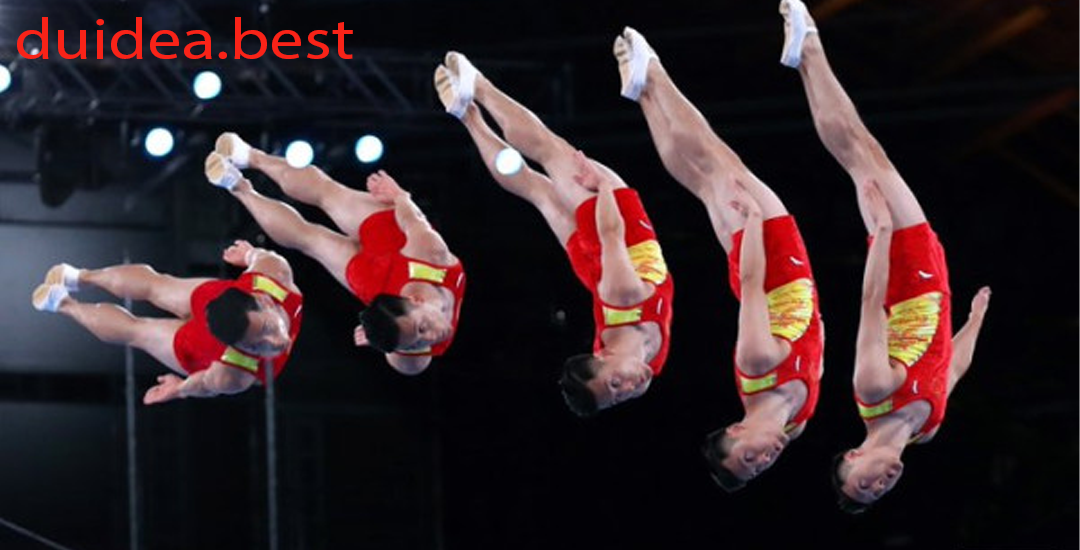
Senam Trampolin: Olahraga Akrobatik yang Menggabungkan Keseimbangan dan Kecepatan
Pendahuluan Senam trampolin adalah salah satu cabang olahraga akrobatik yang memadukan keindahan gerakan, kekuatan, keseimbangan,…

ATLET
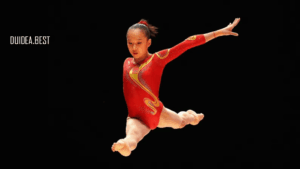
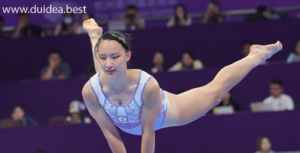
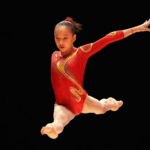
Fan Yilin: Bintang Gemilang dari Dunia Senam Artistik China
Pendahuluan Fan Yilin: Bintang Gemilang dari Dunia Senam Artistik China. Fan Yilin adalah salah satu…

ATLET
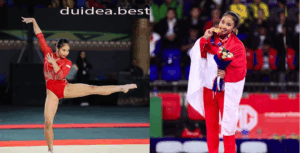
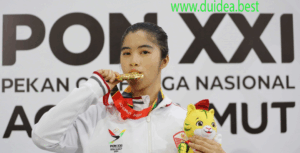
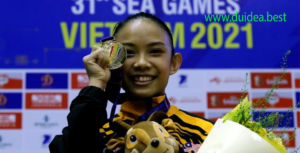
Atlet Senam Aerobik DKI Jakarta, Krischayani Kurniawan, Raih Medali Emas di PON
Pendahuluan Atlet Senam Aerobik DKI Jakarta Dalam ajang Pekan Olahraga Nasional (PON) terbaru, dunia senam…

ATLET
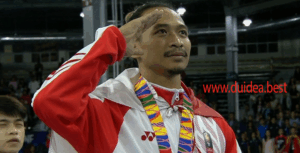
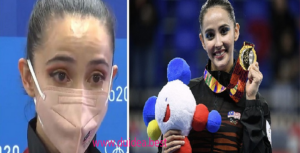
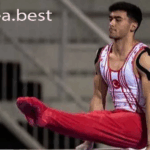
Mert Efe Kilicer: Atlet Berbakat yang Mengklaim Medali Perak dan Perunggu
Pendahuluan Mert Efe Kilicer Dalam dunia olahraga internasional, keberhasilan atlet tidak hanya diukur dari medali…

ATLET
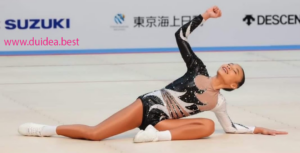
Jutta Verkest, Peserta dari Belgia, Tampil Memukau di Babak Kualifikasi Nomor Balok
Pendahuluan Jutta Verkest Pada ajang Kejuaraan Dunia Senam Artistik yang berlangsung baru-baru ini, salah satu…

ATLET
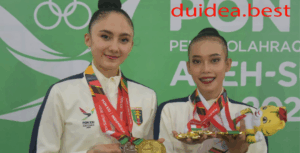
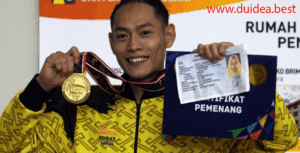
Denda Firmansyah dan Umi Sri Haryani, Atlet Aerobik Asal Lampung yang Sabet Medali Emas
Pendahuluan Denda Firmansyah dan Umi Sri Haryani Dua atlet aerobik asal Lampung, Denda Firmansyah dan…
ATLET
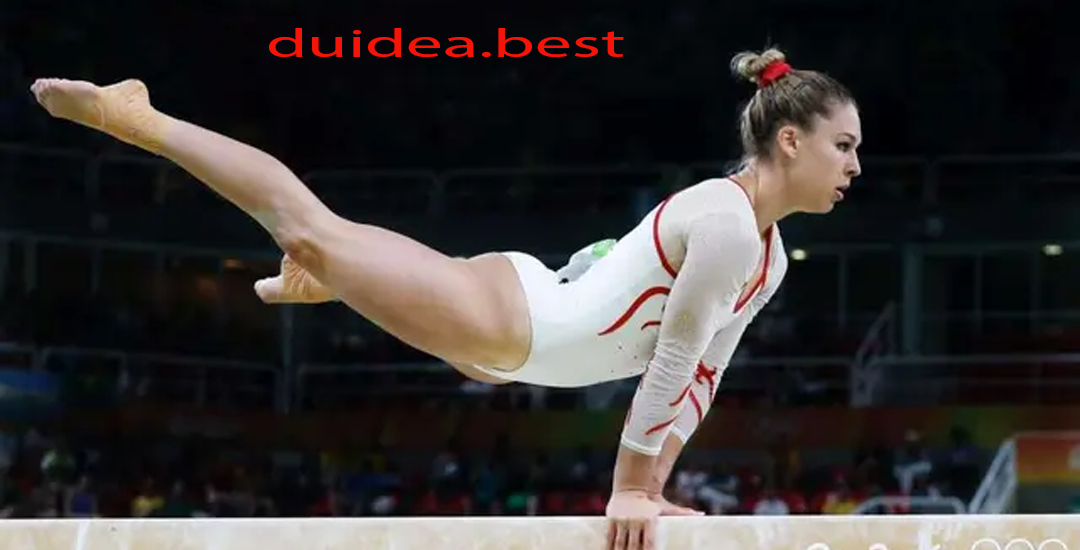
Giulia Steingruber: Atlet Senam Putri Swiss yang Membanggakan Dunia
Pendahuluan Giulia Steingruber adalah nama besar dalam dunia senam artistik, terutama bagi Swiss yang selama…